Step-by-step instructions
Necessary Tools for React-Native:
- Windows — I’m using Windows 10 Home
- Code Editor — I have Atom and Visual Studio Code
- Android Studio
- Node Package Manager (NPM)
- Node.js
- React Native CLI (command line interface)
Instructions on installation below
Step 1: Install a Code Editor
My first days I started out with Sublime Text but then moved to Atom while I was at the Flatiron School, and just the other day I downloaded and installed Visual Studio Code.
I haven’t used Sublime and VSC enough to really have any opinions on them, but while Sublime is free, they have an occasional annoying pop-up asking you to purchase a license.
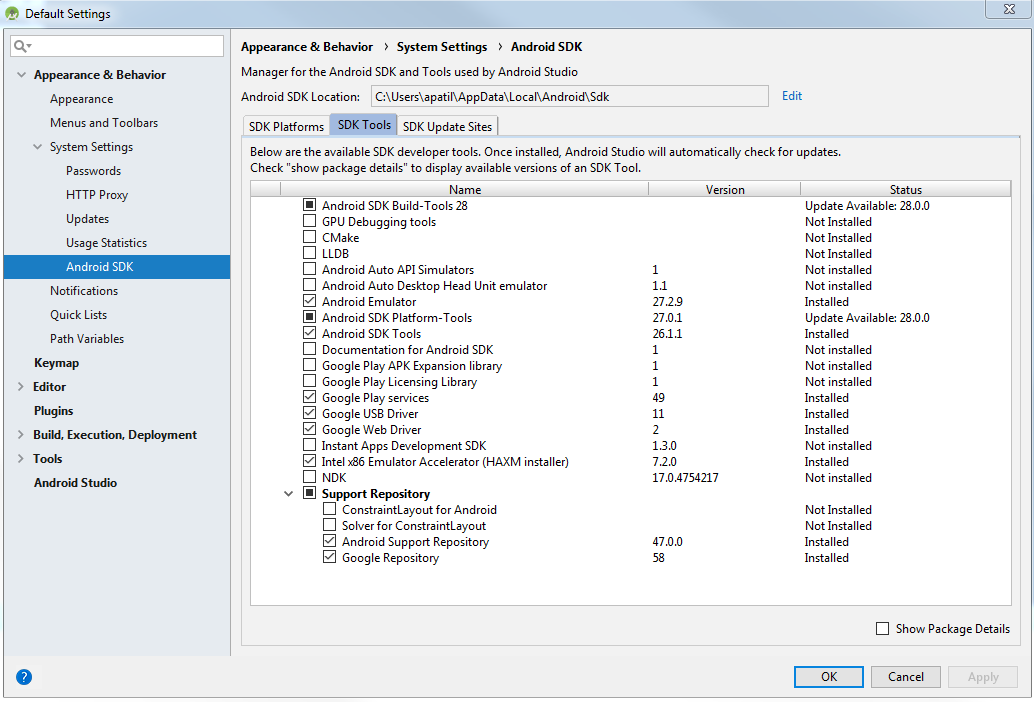
Step 2: Install Android Studio
- Download and install it from here
- Install any Android SDK you would like — React Native requires Marshmallow (6.0) or higher though
- Install the following tools:
Add environment variables
Open a File Explorer, copy and paste the following into the address bar.
Control Panel\System and Security\System
Click on Advanced system settings on the left menu.

Click on Environmental Variables at the bottom.
Click on New to add a user variable (the top section).
You’ll be adding two:
Variable           Value
ANDROID_HOME       C:\Users\username\AppData\Local\Android\Sdk
JAVA_HOME          C:\Program Files\Android\Android Studio\jre\jre
Then under System variables (the bottom section), click on the Path variable and click on Edit.
On the pop-up window, click on New to add another variable:
C:\Users\username\AppData\Local\Android\Sdk\platform-toolsClick OK, OK and OK to close out of all System Properties windows.
Step 3: Install Node and NPM
- Download and install it from here
- Install the React Native CLI in your terminal — I’m using Git Bash
npm install -g react-native-cliNotes:
- NPM is installed with the installation of Node.js
- Ensure you have the System variable under Path for Node.js — mine shows as the following. You can manually add it in or perhaps restart your computer for it to be automatically added.
C:\Program Files\nodejs\Step 4: Make a Sample Application
- Bootstrap a React Native application in your terminal with the following command:
react-native init SampleApp
cd SampleApp
npm install
Setup Android Studio in order to preview, test and develop apps
- Open the SampleApp folder in Android Studio
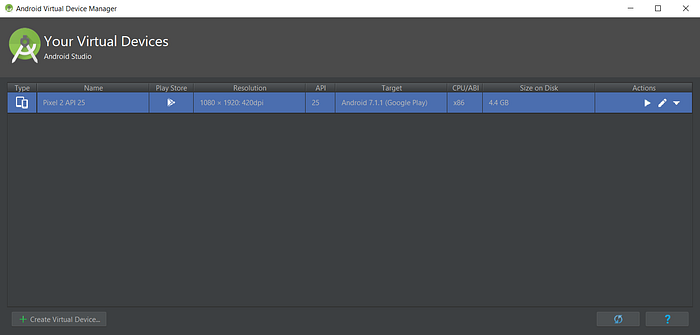
- Open the AVD Manager from the toolbar, you can show the toolbar by clicking on View and then Toolbar
- Click on Create Virtual Device and select a phone of your choosing — I went with the Pixel 2. Then move forward by clicking on Next.
- Choose a system image, or the OS version for this android phone emulator — I picked Nougat. You may have to download it first.
- Then click on Next and then on Finish.
Run the application
- Double-click on the newly created virtual device to get it up and running
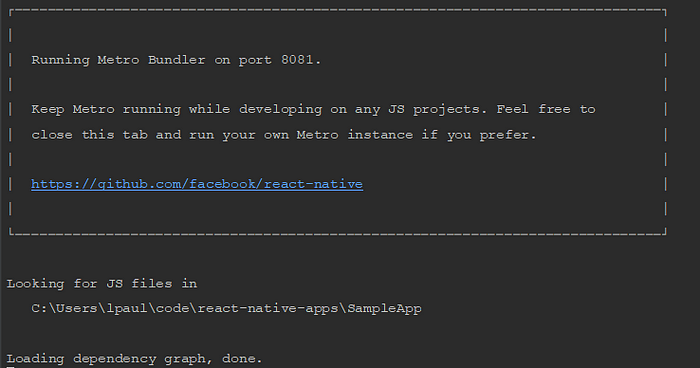
- Open up the terminal in Android Studio from the bottom of the window and run the following command
react-native start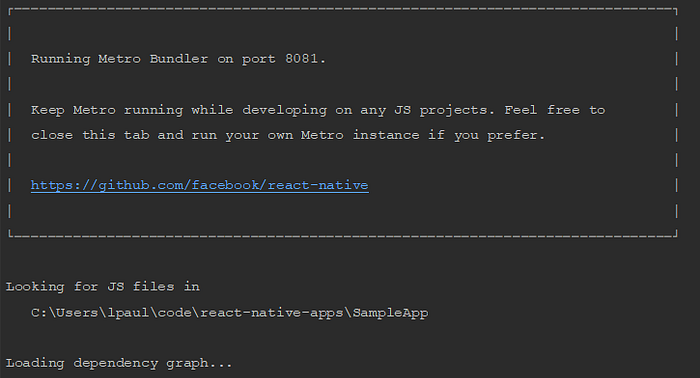
- Wait until it is done
- Open another terminal inside Android Studio by clicking on the green + sign on the left side and run the following command:
react-native run-android
- If it was successful then you’ll see it on the phone emulator (virtual device)

Step 5: Have fun!